

You need the right equipment to set up a folding container house. Gather tools like a forklift, crane, torque wrench, and a laser level. Always put safety first and wear proper gear before you start. Each step becomes easier when you have what you need on hand.
Tip: Double-check your toolbox before the build. Missing a tool can slow you down!
Key Takeaways
Gather essential tools like a forklift, crane, and torque wrench to ensure a smooth setup process.
Always prioritize safety by wearing proper protective gear, such as hard hats and safety glasses, during construction.
Prepare your site by leveling the ground and obtaining necessary permits to avoid delays and fines.
Use the right equipment for delivery and unloading, like flatbed trucks and cranes, to prevent damage to your container house.
Regular maintenance checks help keep your folding container house in top shape and prevent costly repairs.
Equipment Needed for Folding Container House
Setting up a folding container house takes more than just enthusiasm. You need the right equipment and tools to make the process smooth and safe. Let’s break down what you’ll need for each stage.
Essential Tools and Machinery
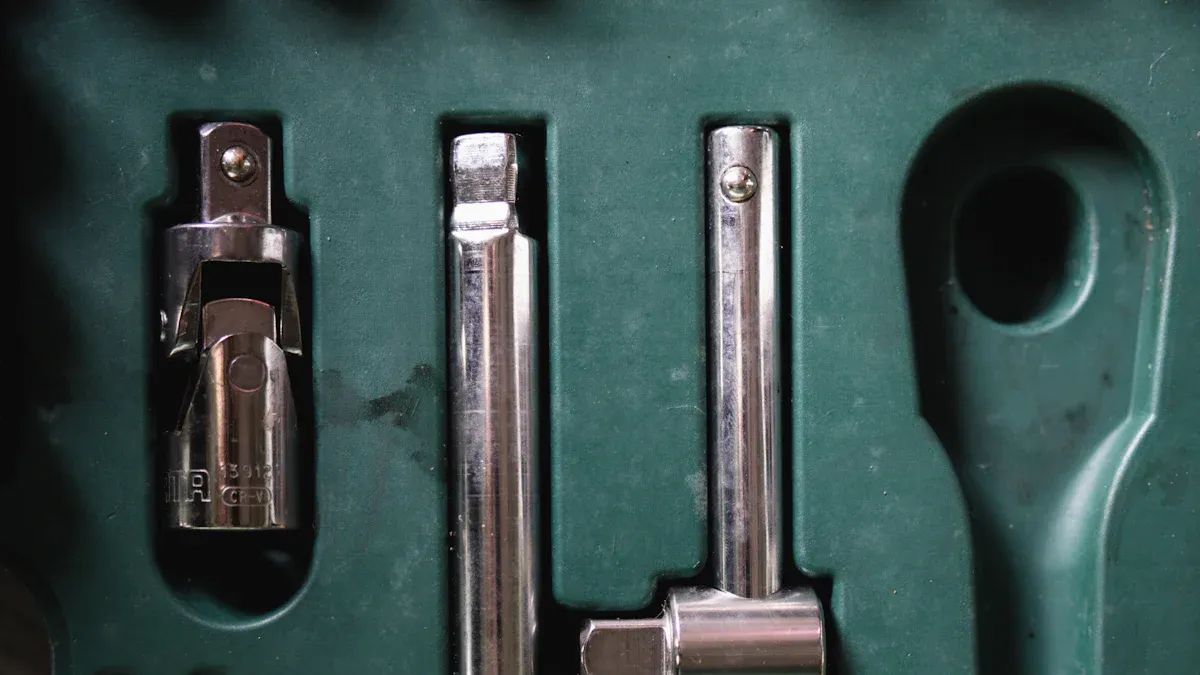
You’ll want to gather a solid set of tools before you start building your folding container house. Here’s a quick look at the must-haves:
Forklift: You’ll use this to move heavy panels and containers around the site.
Crane: This helps you lift and position the foldable container house sections, especially the roof and upper panels.
Torque Wrench: You need this for tightening bolts to the correct specification, which keeps your structure secure.
Impact Driver: This tool makes fastening screws and bolts much faster.
Laser Level: You’ll use this to make sure everything lines up perfectly, from the base to the roof.
Tip: If you want reliable equipment, check out Lanen International. They offer high-quality tools and machinery for folding container house projects. Many builders trust their products for durability and ease of use.
You’ll also need some key components to assemble your foldable container house. Here’s a table that shows what goes into a standard setup:
You’ll find these components in most foldable container house kits. Each part plays a role in making your folding container house sturdy, insulated, and comfortable.
Safety Gear (PPE)
Safety should always come first when you set up a folding container house. You’ll work with heavy machinery and sharp tools, so personal protective equipment (PPE) is a must.
Hard Hat: Protects your head from falling objects.
Safety Glasses: Shields your eyes from dust and debris.
Work Gloves: Keeps your hands safe from cuts and scrapes.
Steel-Toe Boots: Guards your feet against heavy impacts.
High-Visibility Vest: Makes sure others can see you on site.
Ear Protection: Useful when you operate loud equipment like impact drivers or cranes.
Note: Never skip PPE, even if you’re in a hurry. One small mistake can lead to a big injury. Make safety your top priority every time you work on your foldable container house.
When you have the right equipment and safety gear, you’ll feel confident tackling each step. You’ll save time, avoid mistakes, and keep everyone safe. If you’re unsure about any tool or process, reach out to professionals or trusted brands like Lanen International for advice.
Site Preparation for Build a Container House
Getting your site ready is the first big step when you build a container house. You want a solid foundation, clear measurements, and all the right paperwork. Let’s walk through what you need for a smooth start.
Ground Leveling Tools
A flat and stable surface helps your container house last longer. Uneven ground can cause problems with the structure and make assembly harder. You’ll need tools like a shovel, rake, and a plate compactor. These help you clear debris, level the soil, and pack it down. Some builders use a mini-excavator for larger sites. If you want a concrete base, you’ll need a mixer and trowel. A level site makes every step easier when you build a container house.
Measuring and Marking Equipment
Accurate measurements keep your project on track. Grab a tape measure, chalk line, and a laser level. These tools help you mark out the footprint of your container house. You want straight lines and square corners. A measuring wheel works well for bigger plots. Double-check your marks before you start building. Good prep saves you time and prevents mistakes.
Permits and Codes
Before you build a container house, check local rules. Most places require permits for new structures. Visit your local building department or city website. You may need to submit plans and pay fees. Codes can affect the type of foundation, insulation, and even the equipment you use. Inspections happen at different stages.
A final inspection is usually required to ensure that the home is structurally sound and meets local building codes.
If you skip permits, you risk fines or delays. Following the rules keeps your project safe and legal. Always plan ahead and ask questions if you’re unsure.
Delivery and Unloading Equipment
Getting your folding container house to the site is a big step. You need the right vehicles and equipment to make sure everything arrives safely and gets unloaded without a hitch. Let’s look at what you’ll need for a smooth delivery.
Transportation Vehicles
You can’t move a folding container house with a regular pickup truck. You need specialized vehicles that handle heavy loads and large dimensions. Here are some options you might consider:
Flatbed Truck: This is the most common choice. It gives you plenty of space for the container and makes loading and unloading easier.
Lowboy Trailer: If your container house is extra tall or heavy, a lowboy trailer helps keep the load stable and closer to the ground.
Tilt-bed Truck: This truck lets you slide the container off the back, which can save time if you don’t have a crane on site.
Tip: Always check the route before delivery. Look for low bridges, narrow roads, or weight restrictions that could slow you down.
You should also confirm the delivery schedule with your supplier. Make sure someone is on site to guide the driver and inspect the container when it arrives.
Forklift and Crane Use
Once your container house reaches the site, you need to unload and position it. Forklifts and cranes make this job much easier. Here’s how you can use them:
A forklift works well for moving smaller parts or panels. You can drive it right up to the delivery truck and unload items quickly. If you need to lift the entire container house or place it on a foundation, you’ll want a crane. Cranes handle heavy loads and reach higher spots.
Note: Always keep a clear area around the unloading zone. Communicate with your team using hand signals or radios. Safety comes first when you operate heavy machinery.
You’ll feel more confident when you have the right equipment ready. Delivery and unloading go smoothly, and you avoid costly mistakes. Take your time, double-check your gear, and ask for help if you need it.
Assembly Tools for Folding Container House

When you reach the assembly stage, you need the right tools to make each step smooth and safe. You’ll find that having everything ready before you start makes the installation much easier. Let’s break down the essential equipment for the folding mechanism and fastening tasks.
Folding Mechanism Tools
You’ll handle several moving parts during the folding container house installation. The folding mechanism is the heart of the process. Here are the tools you’ll want for these steps:
Adjustable wrenches for tightening and loosening bolts
Hydraulic jacks to help lift and position panels
Pry bars for guiding sections into place
Ratchet sets for quick adjustments
A hydraulic jack can make base frame installation much easier. You’ll use it to lift the frame and align it with the foundation. Adjustable wrenches and ratchet sets help you secure the folding joints. These steps are crucial for a stable structure.
Pro Tip: Always check the folding mechanism before you start the installation steps. Lubricate hinges and moving parts to prevent sticking or squeaking.
Fastening Equipment
Fastening is one of the most important steps in the installation process. You want every connection to be secure. Here’s a table showing the main fastening tools and their uses:
You’ll use an impact driver for most of the heavy-duty fastening steps. A torque wrench helps you avoid over-tightening, which can damage the structure. Nut drivers and screwdrivers are perfect for smaller installation steps.
Remember: Double-check each connection during installation. Loose fasteners can cause problems later, so take your time with these steps.
With the right assembly tools, you’ll move through the installation steps with confidence. Each step builds a safer, stronger folding container house.
Securing the Container House
Once you finish assembling your folding container house, you need to secure it. This step keeps your home safe from wind, rain, and shifting ground. Let’s look at the tools and supplies you’ll use to anchor and weatherproof your new space.
Anchoring Tools
Anchoring your container house is a must. You want it to stay put, even during storms or strong winds. Here are some tools and equipment you’ll need:
Anchor Bolts: These bolts hold your container house to the foundation. You drill holes and set the bolts deep into concrete or ground anchors.
Hammer Drill: Use this tool to make holes for anchor bolts. It works fast and handles tough surfaces.
Socket Wrench Set: Tighten anchor bolts with a socket wrench. You get a secure fit and peace of mind.
Steel Plates: Sometimes you need extra support. Steel plates spread the load and help anchor the corners.
Tip: Always check the anchor points before you finish. Loose anchors can cause problems later.
Here’s a quick table to help you pick the right anchoring tools:
Weatherproofing Supplies
You want your container house to stay dry and comfortable. Weatherproofing keeps out rain, wind, and moisture. Here’s what you’ll need:
Sealant: Use silicone or polyurethane sealant around windows, doors, and joints. It blocks water and air leaks.
Weather Stripping: Install this around doors and windows. It stops drafts and keeps your house cozy.
Roof Flashing: Metal flashing protects roof edges and seams. It directs water away from weak spots.
Insulation Tape: Wrap insulation tape around electrical outlets and pipes. It adds another layer of protection.
🌧️ Don’t forget to check for gaps after you finish. Even small cracks can let in water.
You’ll feel proud when your container house stands strong against the elements. Good anchoring and weatherproofing make your home safe and comfortable for years.
Electrical Setup for Container House
Wiring and Outlets
You need a solid electrical plan before you start wiring your container house. Most kits come with basic wiring, but you should always check the specs. You want safe, reliable power for lights, outlets, and appliances. Start by mapping out where you want outlets and switches. Use a marker or tape to label each spot.
Here’s a simple checklist for your wiring setup:
Choose the right wire gauge for your needs.
Install outlets at convenient heights.
Use weatherproof boxes for outdoor outlets.
Test each connection with a voltage tester.
Tip: Hire a licensed electrician if you feel unsure about wiring. Electricity can be dangerous if you make a mistake.
You can use a table to track your electrical components:
Always follow local codes. Inspect your work before you close up the walls.
Solar Panel Integration
Want to save on energy bills? Solar panels make your container house more eco-friendly. You can install panels on the roof or nearby ground. First, check how much sunlight your site gets. Choose panels that fit your power needs.
Here’s how you can get started:
Pick a solar kit with panels, inverter, and battery.
Mount the panels securely.
Connect the inverter to your electrical system.
Test the setup on a sunny day.
🌞 Solar panels work best when you keep them clean and free of shade.
You can combine solar power with regular wiring. This gives you backup power and more flexibility. If you want to go off-grid, add extra batteries for storage. Solar integration helps you live sustainably and lowers your carbon footprint.
Finishing Equipment and Tips
Interior Setup Tools
You want your folding container house to feel like home. The right tools make interior setup quick and smooth. Here’s what you’ll need:
Cordless drill: Hang shelves, assemble furniture, and install fixtures with ease.
Utility knife: Cut flooring, insulation, or packaging materials.
Measuring tape: Check dimensions for cabinets, appliances, and wall hangings.
Stud finder: Locate safe spots to mount heavy items.
Paint roller and brushes: Add color to your walls and ceilings.
Caulking gun: Seal gaps around windows, doors, and trim.
Tip: Lay out your tools before you start. You’ll save time and avoid searching for missing items.
Exterior Finishing Tools
The outside of your container house needs attention, too. You want it to look sharp and stand up to the weather. Here are some handy tools for exterior work:
Power washer: Clean the exterior panels before painting or sealing.
Ladder: Reach roof edges, gutters, and high windows safely.
Paint sprayer: Cover large surfaces quickly and evenly.
Caulk and sealant gun: Seal joints and seams to keep out water.
Screw gun: Attach siding, trim, or exterior fixtures.
Protective sheeting: Cover windows and doors during painting.
A clean, sealed exterior keeps your house looking great and protects it from the elements.
Maintenance Checklist
Regular maintenance keeps your folding container house in top shape. Use this checklist to stay organized:
Check all equipment and systems at set intervals.
Inspect for leaks, rust, or loose fasteners.
Watch for unusual noises or movements. Address problems right away.
Adjust or replace major parts as needed.
Handle and dispose of harmful substances safely.
Keep a list of spare parts on hand for quick repairs.
Staying on top of maintenance helps you avoid big repairs and keeps your home safe and comfortable.
You now know what equipment you need for every step of the installation process. Safety gear, proper tools, and careful planning make the installation process smooth and stress-free. Check out this table to see how each stage fits together:
Don’t skip permits or safety checks. If you feel unsure, ask a pro for help. Keep your checklist handy and maintain your tools for a safe, lasting home.
FAQ
What makes a folding container house different from a regular container house?
You get a folding container house that arrives compact and unfolds quickly. You save time during construction. You use fewer tools. You can move your container house more easily than a standard container. You enjoy flexible design options.
Can I set up a container house by myself, or do I need a team?
You can handle some steps alone, but you need help for heavy lifting and construction. You need a team for moving the container, using machinery, and securing the container house. You stay safer and finish faster with extra hands.
How long does construction take for a folding container house?
You finish construction in days, not weeks. You unfold the container house, secure the container, and complete basic setup quickly. You spend more time on interior and exterior finishes. You move in sooner than with traditional container house construction.
What permits do I need for a container house?
You check local rules before you start construction. You need permits for your container house, including zoning and building approval. You contact your city office. You avoid fines and delays by following the right steps for your container house construction.
Is a container house durable in harsh weather?
You get strong protection with a container house. You anchor the container and use weatherproofing supplies during construction. You keep your container house safe from wind, rain, and snow. You maintain your container house for long-lasting comfort.